This is Part 1 of our build diaries – the start of our skoolie demo (aka demolition) of Skoolie Woolie. CrtrGrl and I plan to document our trials and tribulations during our skoolie build here. We want to help others who have been inspired by the tiny house, simple living / minimalism movements or want to pursue a more nomadic lifestyle. Our inspiration to reduce our impact on the planet is due to mass extinctions, shrinking wildlife habitat / deforestation, and climate change. We also want to reduce our living expenses so that we can spend more time living.
We have a rough design for our bus, no experience with tools and a can-do attitude. With help from family, we plan to learn as we go from the University of YouTube and the helpful community at skoolie.net. Our plan is to park Skoolie Woolie on some land in the Pacific NorthWest (PNW) and use it as a stationary tiny house. You can find our other articles on our skoolie here.

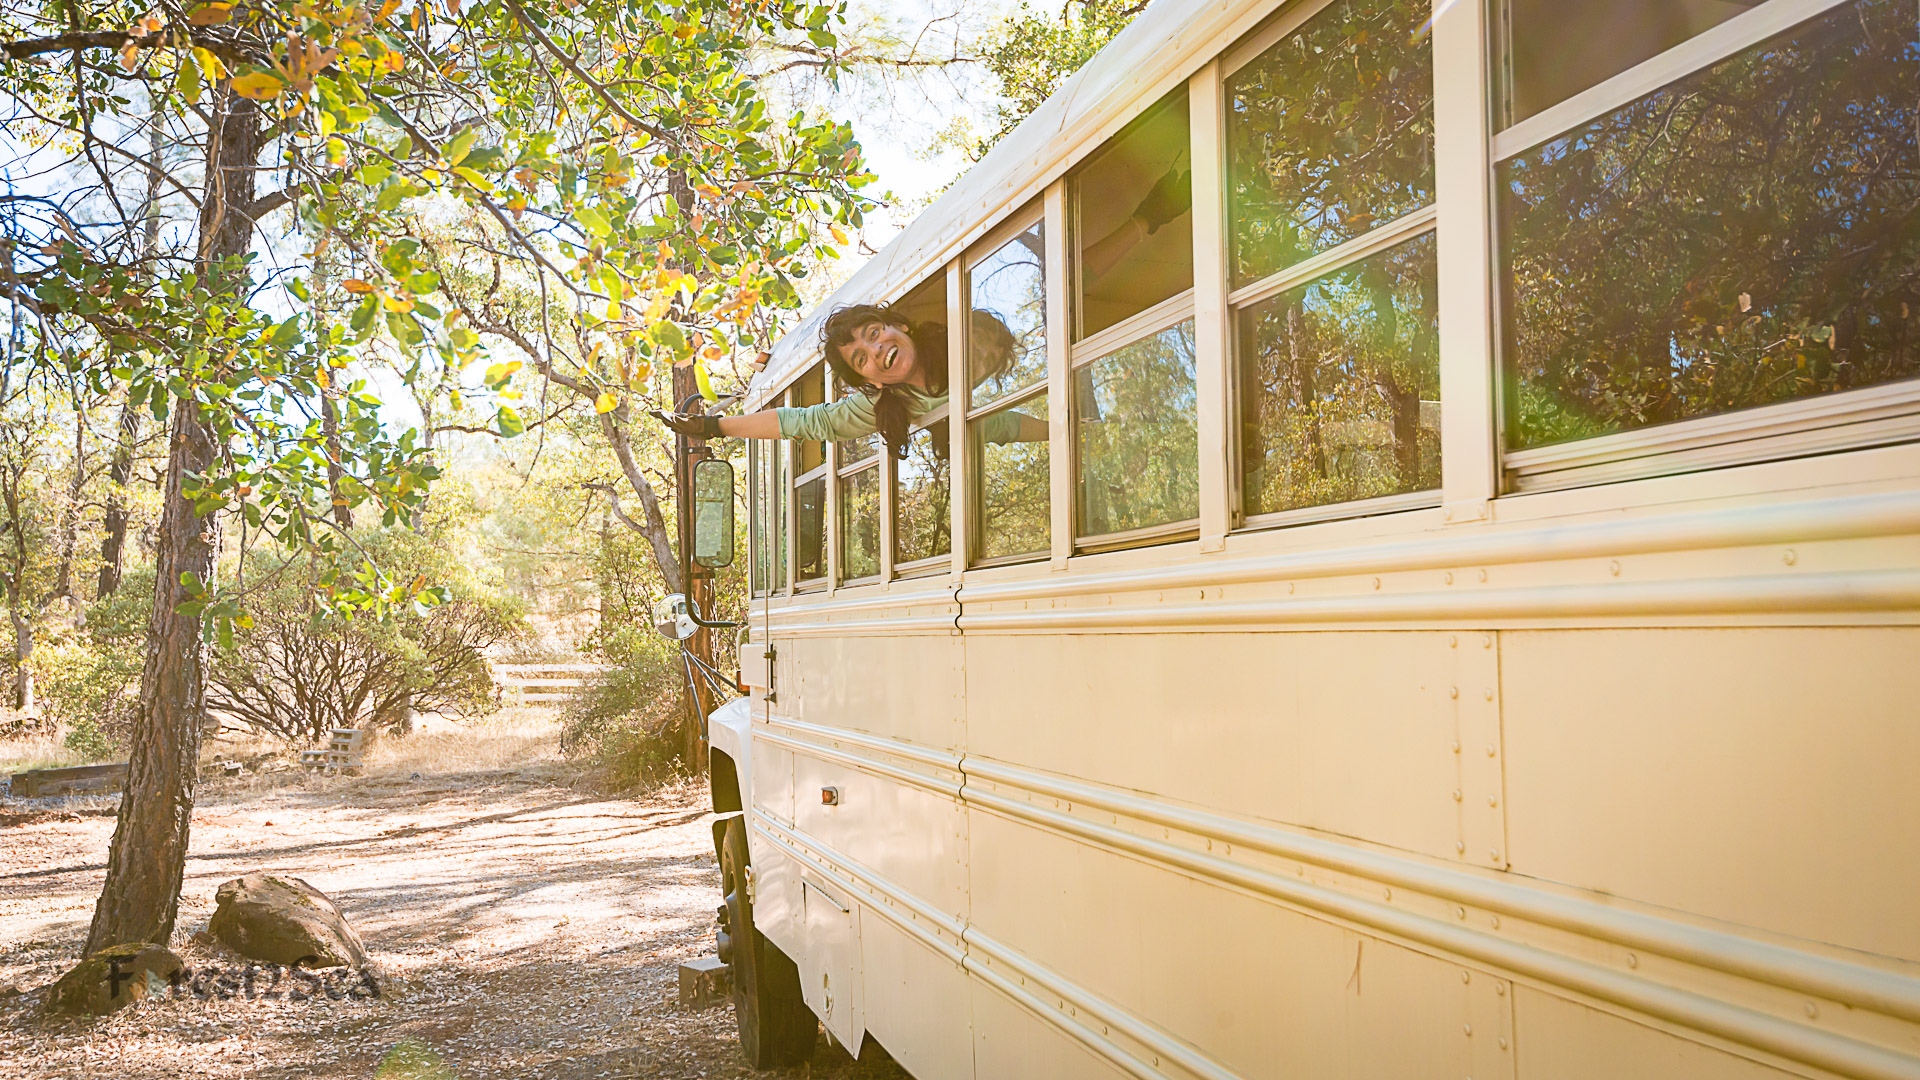
CrtrGrl & Indi practicing being crossing guards. The stop sign came with our skoolie.
Skoolie Woolie’s Specs
Here’s a little bit of info about Skoolie Woolie to start off:
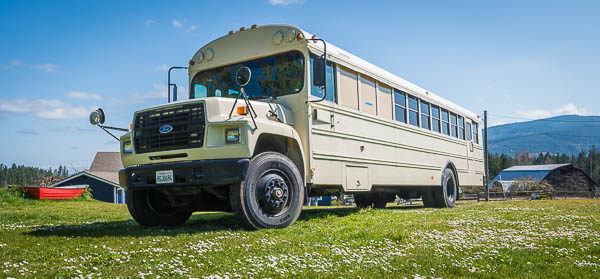
- The chassis is a 1993 Ford B700 and the school bus stuff was built by Carpenter
- It’s a 38 feet long dognose bus – the engine sticks out in front of the bus
- Skoolie Woolie has a relatively small Cummins 5.9L diesel engine with over 250K miles on it (odometer doesn’t really work, so not sure how many exactly)
- It has an Alison AT545 automatic transmission
- The original bus had 12 rows of seats for up to 72 kids with two emergency exits
- Our bus was a real school bus in the Bakersfield School District (in California), until it was retired
- It doesn’t have an air conditioner and just a driver’s heater

The inside of Skoolie Woolie before we started doing our skoolie demo
Skoolie Demo
The previous owner removed all of the rows of seats, which helped us out a bunch! We’ve heard that’s no fun and we’re glad we got to skip that step. He also painted the exterior a nice tan color, so Skoolie Woolie is no longer school bus yellow.
Our initial goal is to strip our bus down to metal in order to see what we have to work with, and then build it back up. We want to remove all of the old insulation and install our own. We’re not too concerned about rust, but the right time to find out is now! In order to do that, we have to remove everything.
Removing the Ceiling Panels
To kick off our skoolie demo, we started removing the rivets in the ceiling panels and top side panels at the rear of the bus. We lucked out by choosing a Carpenter bus, since all of the interior rivets take a T20 Torx (or star) bit. Other bus manufacturers use smooth rivets and each one has to be cut off. Each panel is bolted in (like an airplane) and also tucked in to each surrounding panel.
While trying to remove the rivets using a cordless impact drill, we stripped some of them. This was the least fun part of removing the ceiling panels from our skoolie. Due to lack of knowledge with all of the tools we had at our disposal, I used a hammer and small wedge (the hard way) to break off the heads of most of the stuck rivets. If we had it to do over again, we would have started with a metal cut-off wheel from an angle grinder, which we started using towards the end.
In order to free up the ceiling panels, we unscrewed and disconnected the interior lights and speakers. We plan to put in our own lighting and speakers, so we won’t be using the factory equipment. After all of the rivets were removed and equipment disconnected, we removed the panels. Even with all of the rivets removed, we had to pull hard and bend the panels to get them free.

Some of the fiberglass ceiling insulation had to be removed immediately after taking down the ceiling panels
Fiberglass Insulation
Underneath the ceiling panels, we found fiberglass insulation. At first, we started to remove each sheet of insulation as we removed each ceiling panel, all while wearing a face-mask. Some of it had to be removed immediately because they started to hang down. But after getting itchy fiberglass on my skin, I decided we should wait and do all of the insulation in one batch. We also decided to wear more protective gear when working with it.

CrtrGrl removing the metal strips along the floor of our skoolie
Getting Access to the Plywood Floor
Next, CrtrGrl stripped the floor down to plywood. She removed all of the metal strips along the outside of the floor and the central walkway strip. She also removed the metal strips outlining the two wheel wells and removed the rubber covering. Then CrtrGrl used a strong flat head screwdriver to separate the rubber floor covering that was glued to the plywood. Finally, she rolled the rubber down the length of the bus until it ripped off. Word of caution – use your core muscles as this can be hard on your back!


Coming Up
In our next build diary, we’ll cover the second part of our skoolie demo. We’ll finish stripping the floor, remove all of the ceiling insulation and take on the driver’s heater. You can find our other articles on our skoolie here.


Wow. Your project is challenging and inspirational.
Thanks Vu! We’re somewhat overwhelmed, but taking it step by step and getting some bruises along the way. But we’re excited by the challenge and everything we’ll learn in the process!